Tuesday, August 6, 2013

The Waiting Is the Hardest Part ;)

There have been several design team calls lately, a lot of them actually, it's that time of year. I have submitted to some in the past, but there is one that I always "wanted" to submit to and never actually did. I bought their products, had them in my stash, used them... and well, just didn't think I was good enough. But not anymore. My attitude about that sort of thing now is, well... the worst they can say is no. I like my stuff so why not submit. I did want to make some new projects because well, it had been a while since I did anything particular with their products and they have a lot of new stuff and I order more stuff online now than I used to as well as I have awesome places that will special order for me if I ask.

With all that being said, let's get to a project why don't we ;).


This card features so much that I love. It is kraft paper, it has a doily on it (and this doily isn't misted or painted or anything.... There are sequins and ribbon that I bought and had trouble using (for fear of running out) forever ago. And that LOVELY piece of ClearScraps acrylic! I started with the ATC size piece of Clearscraps acrylic, stamped a PaperSmooches sentiment on the acrylic in Staz-On ink, stamped the greeting on a 3x4 card from the cut apart sheet in the CratePaper The Pier collection, cut the sentiment out, glued it to the doily where I was going to line up the acrylic. I used the Doily Mascil, taped off the sections that were't the little triangles and added Ferro from Viva Decor in the color Graphite (yummy texture from this product too!) I allowed the Ferro to dry then attached the clear element to my card using of all things Fabri-Tac behind the triangle shapes. The sequins from the diecut pack of The Pier Collection was the finishing touch.

This card makes me smile!

I won't know for a while longer if I made the team, but I am really proud of myself for deciding that I can submit!

Thanks for checking it out!

Thursday, August 1, 2013

You Can Make Funky Things

I have to say that before yesterday I hadn't played with Shrinky Dinks in many years. And I LOVED it as much as I did when I was a kid! Oh my, stamp an image, color with your favorite coloring tools then shrink them down (takes 3 minutes in my toaster oven. I made a whole bunch of little goodies, but today I'm going to share the first completed project. I made a bracelet. (not for me, but I'd totally wear this, maybe I need one too!)
(sorry for the glare...)

I used the Critters Ever After Stamp set from Lawn Fawn. I stamped out my unicorns. I began by lightly sanding my shrinky dink plastic (as per the instructions), then I stamped my images (I stamped them twice because I used Momento Ink the first time through and wound up wiping them clean off my plastic, the second time I used black Staz-On)I used copics to color the images, then I punched a hole where I wanted to place my jump ring and carefully cut out the image. Then you just pop them in the oven (I used a toaster oven) and watch them shrink. The instructions say you can use your heat gun, but  I didn't want to attempt the heat gun action with all the paper bits on my dining (read crafting) table right now. I do love how this turned out, and I hope Bella loves it. Ok, time to make something else with more of these hand made embellies... OH MY they are fun!

Tuesday, July 30, 2013

Paper Smooches Sparks Challenge Week Ending August 4th!

So this being a long month, the challenge this week is: Anything goes


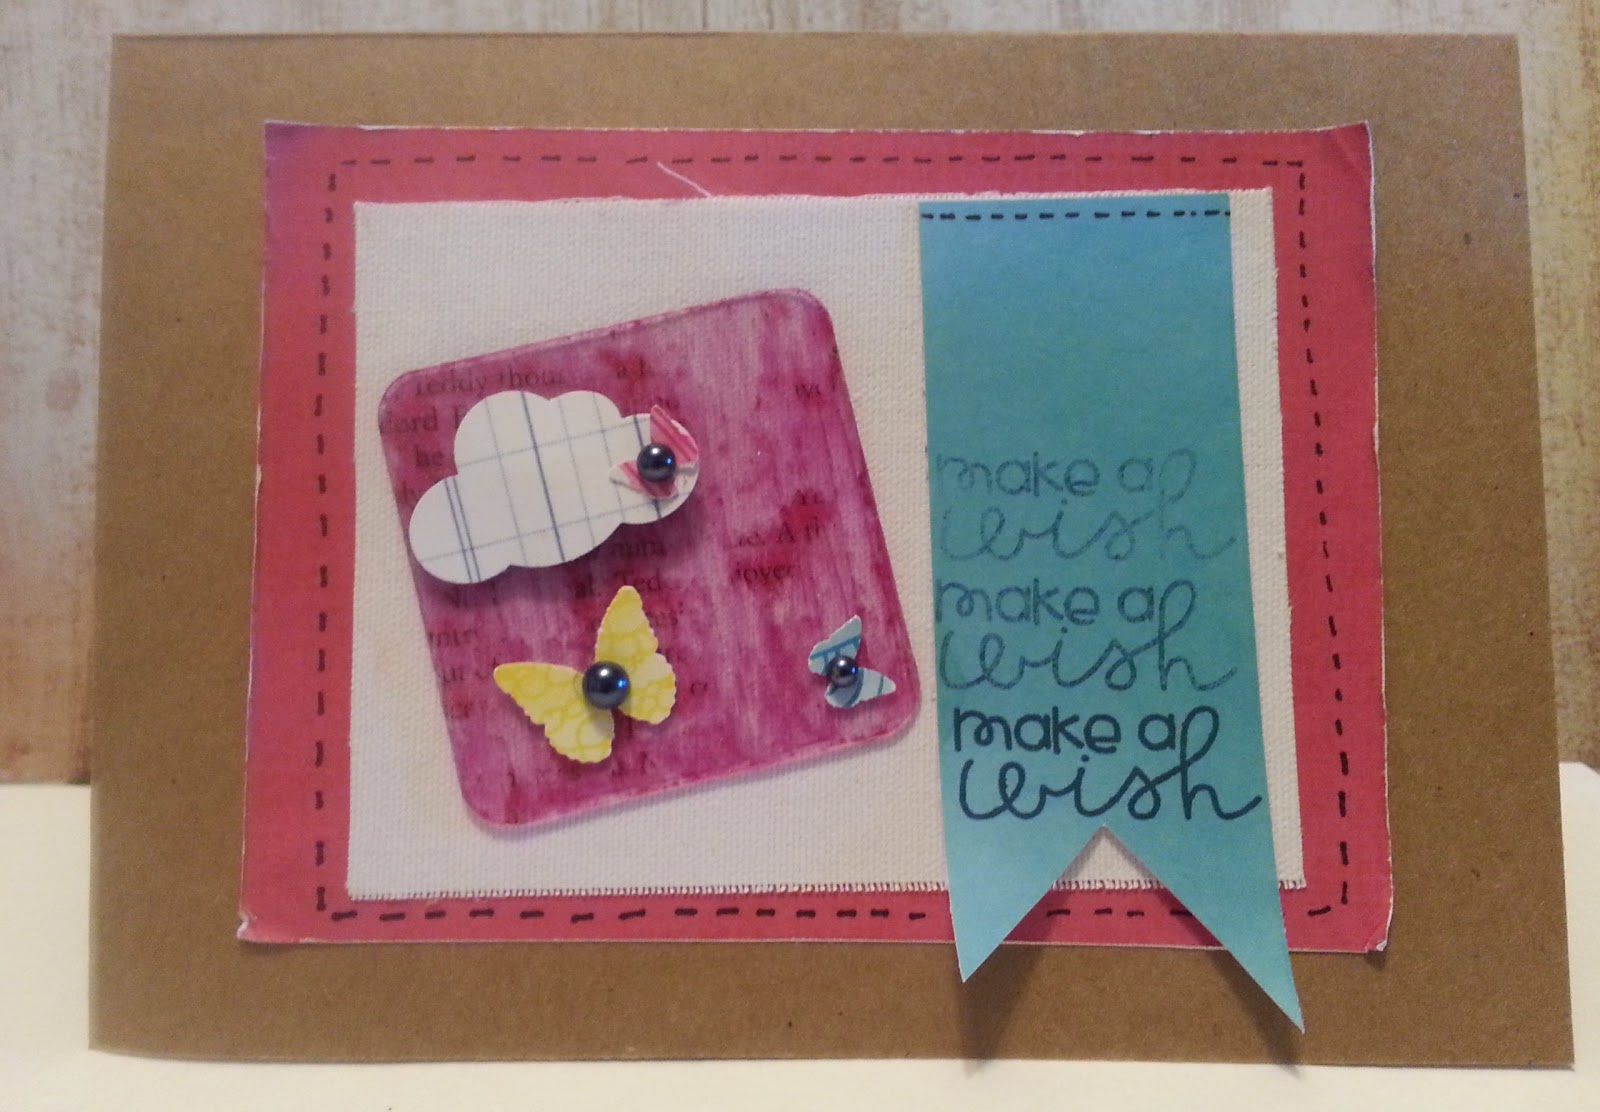
I have been playing with acrylic lately, ClearScraps Acrylic to be exact. Playing and trying new things. I wanted to see if I could transfer some old book pages to the acrylic using my Art Anthology dimensional Crystals paint. When I tried, here was the result


I think this looks AMAZING! Maybe even better than I was expecting. I took this square (it's the center from one of the Acrylic Slides that ClearScraps has). Then I got busy making a card (there's a birthday coming up...)

I pulled out my stamps and punches and here is what I was inspired to make with my stuff:


I looked at this and decided it just wouldn't do, it needed just a little tiny bit of something... and then I grabbed a pen and added faux stitching. I rarely do this, but I was pressed for time, I needed to leave for work and I so wanted to finish this card. Using up my scraps, I have some Amy Tan from several collections ago along with some Heidi Swapp papers from her first two lines, some Stickyback Canvas from Ranger, Some pearls from Basic Grey and a Stamp from Paper Smooches Word Up stamp set.


I LOVE this simple little card. Thanks so much for looking and now that you've seen just how easy it can be, why don't you go enter the challenge... come on, it's easy!


Sunday, July 28, 2013

Paper Smooches Sparks Challenge July 22-28!

I have really left this one down until almost the last minute. I love the inspiration photo, and had a lot of ideas, but I needed one that felt executable. Here is this week's inspiration photo:


Using this photo as my inspiration and some lovely Art Anthology sprays on watercolor paper I came up with this!


The stamps are all Forest Whimsy. I LOVE that gnome and hedgehog! I used a paintbrush and the following colors of art anthology mist : Watermelon, Honey Bee and Glorious.The card base is just some folded black cardstock from my stash. The images are stamped in Staz On ink. I hand-cut the banner shape that has my sentiment. LOVE how this turned out!

Thanks so much for stopping by! 


Saturday, July 27, 2013

Use it if you got it!

So I've been playing a lot with ClearScraps Acrylic lately (um, did you know they are looking for DT members). I have had a love affair with acrylic since the first time I worked with it. I haven't been using it as much lately, but I got a box of goodies from ClearScraps and went to town on them. Um, actually I wound up being inspired to use up a bunch of pieces that I found in my stash by them, but I can't wait to use the new stuff also... oh and I REALLY used my Doily Mascil I'll be sharing the projects I made to try out for the DT at a later time, but I stamped this piece of ClearScraps Acrylic, it's one of their ATC sized pieces, it was the last one in my package, I stamped a little ice pop from Lawn Fawn's Here's the Scoop stamp set and the "thanks" is from Paper Smooches' Chit Chat set. I stamped everything with black Staz-On ink and then colored in using my copic markers. To make the ice pop guy look all icy I covered him with Rock Candy Stickles. I discovered that while Fabri-Tac is great for adhering acrylic to paper, it will take off your Copic Marker Coloring, so the orange on my ice pop guy smudged a bit and I added some older Making Memories Tiny Alpha Stickers that I've been hoarding along with those awesom sparkly Bazzill "self adhesive bling stones."

That solid blue is from my stash, I've had it so long I don't know where it came from (how did that happen?) The flag/banners in the back are from little scraps out of a MME Kate and Co. 6x6 pad, the backer for the acrylic piece is from the 3x4 cut apart sheet from Crate Paper's The Pier collection. Hmm, did I mention I colored on the acrylic with copic markers?

I feel really good about this cute little card. I have another cute embellishment I created using my the acrylic that's kind of different and I'll be sharing that with you next week.

Hugs!

Thursday, July 25, 2013

Working Project

So I showed these projects from a recent class over at Scrapbooks Plus just a few posts ago.
Fringe Festival has been going on, and this was my first year to go see any of the shows. It's actually going on through this weekend here and there will be some more shows coming in the fall. It's a worldwide thing... here is a link to our local Fringe stuff. The book at the top of that pile I decided would make a great place to hold my Fringe thoughts, pics, etc.... It has a TON of pages and I love the idea that I can pull that ring binding out to slip in things like postcards and menus. I've made a good start with some journalling. I haven't printed any photos yet, and it needs lots more embellishing, but here is a short video to show you my progress so far.


Thanks for watching!

Tuesday, July 23, 2013

Zombiest Card I've Ever Made (um, at least so far...).

I do make cards for people... on commission. I haven't made any for a while but a few weeks ago, one of my co-workers asked if I would/could make a card that had both zombies and a husky on it. I said I could and promptly forgot (this is why I write things down). Finally I remembered and got it completed before she needed it, and I HAVE to say I think it turned out SUPER COOL! (and not because I made it, LOL).


The images came from a google image search. I then printed them out the size I needed them on glossy photo paper. I added some stickles on the zombie's pupils and bloody drippings on her neck, the husky has some black distress stickles over the solid black areas for a glittery enhancement. The Wish you were here sticker is from October Afternoon and the washi is from My Mind's Eye. It's for a care package that a group of friends is sending to their buddy that moved to Alaska. I hope she likes it, I know my friend does!